On my to-build list, I want to make some simple floating picture frames for a few canvasses we have in the house. Those are simple enough to build, but I also want to add reinforcement splines to the mitered corners, for both the structural support and as a design detail.
Using a few examples I found (especially this one from Woodcraft by Suman), I drew up this design that’ll allow it to be reusable, support using hold-down clamps, and stop blocks for batching out cuts. Jigs like this can make somewhat complex cuts dead simple and repeatable. They’re also fun to build since you can often build them from scraps around the shop.
I’ll post back with some results after I get it built and can run it through its paces.
One of my next projects I’d like to work on is designing and building a custom dining table. The table we have now was a simple bare-wood pine table we bought probably 15 years ago and painted flat black. For years it was our office desk, where one of us sat on each side; then we converted it to our small dining table. It’s still going strong today, with remarkable durability. I haven’t even repainted the tabletop.
But we want a larger proper dining table that we can use for the family. The current table doesn’t get much use, but we’ve now got a proper dining room that we’d like to use for its intended purpose.
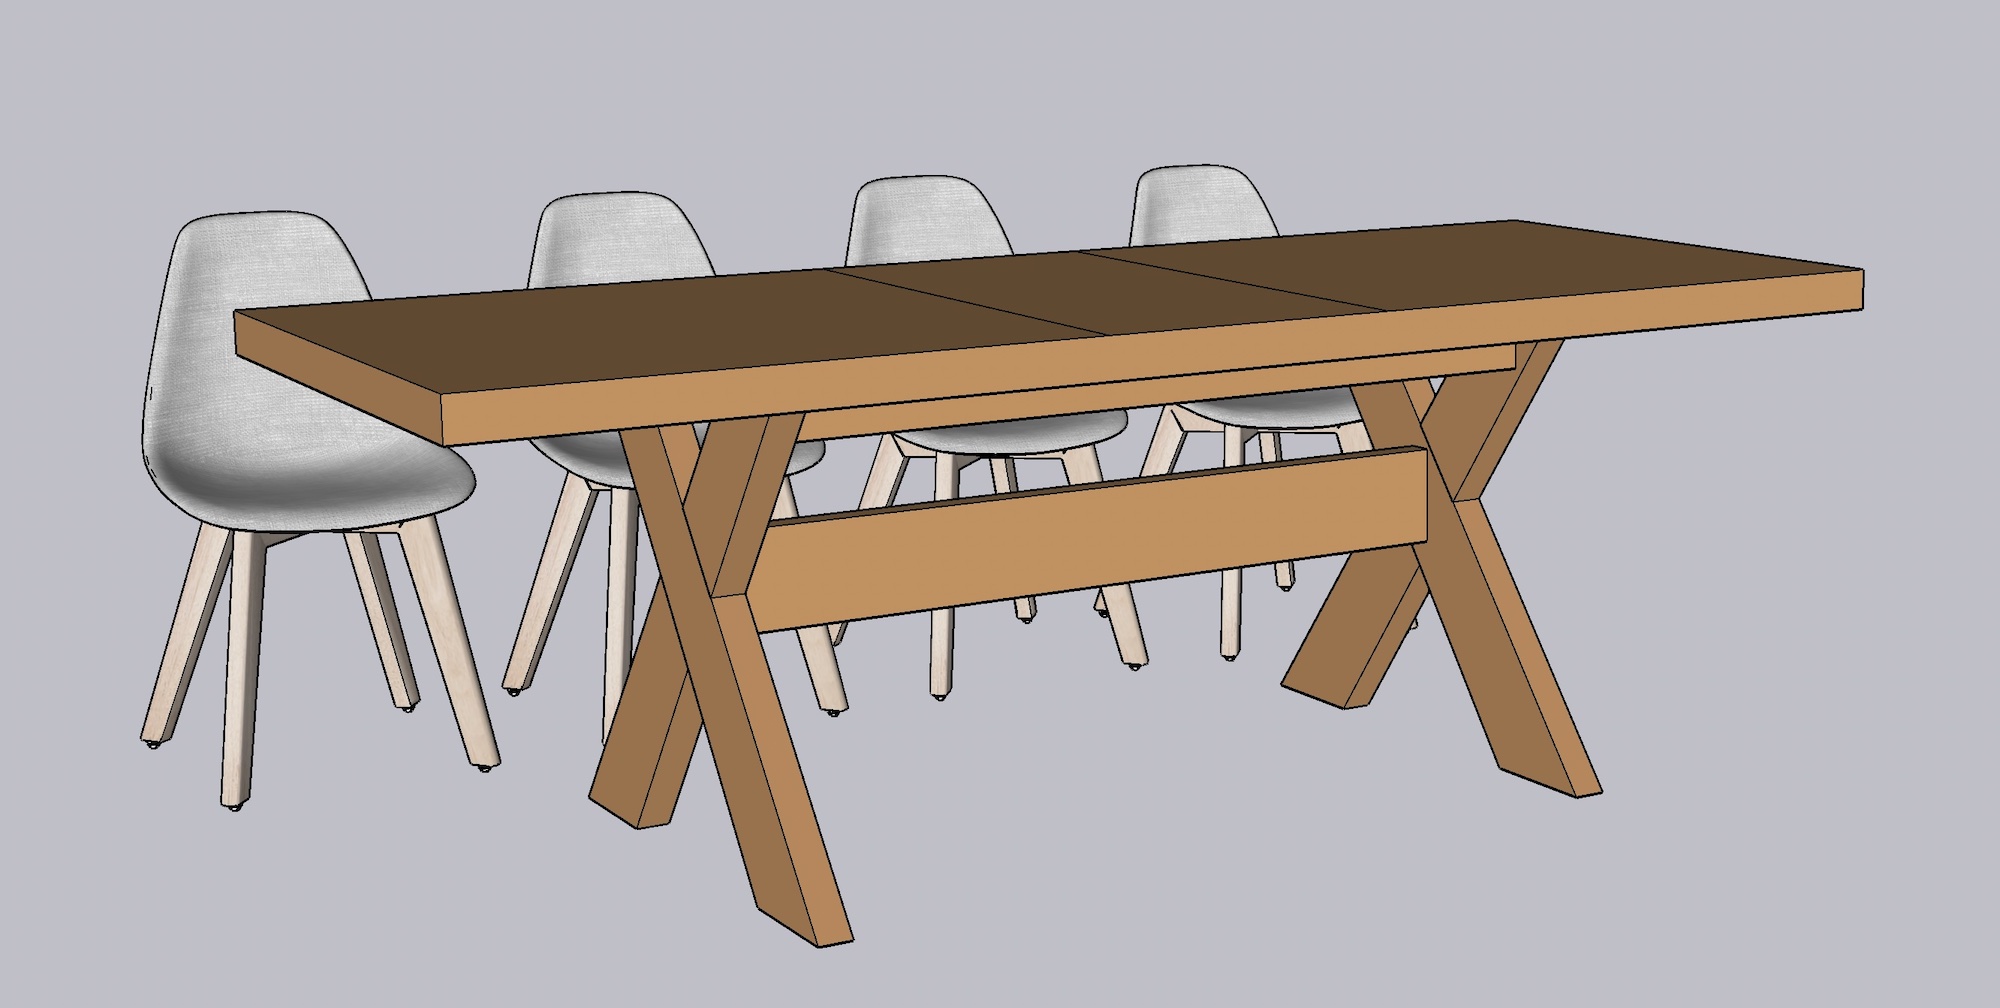
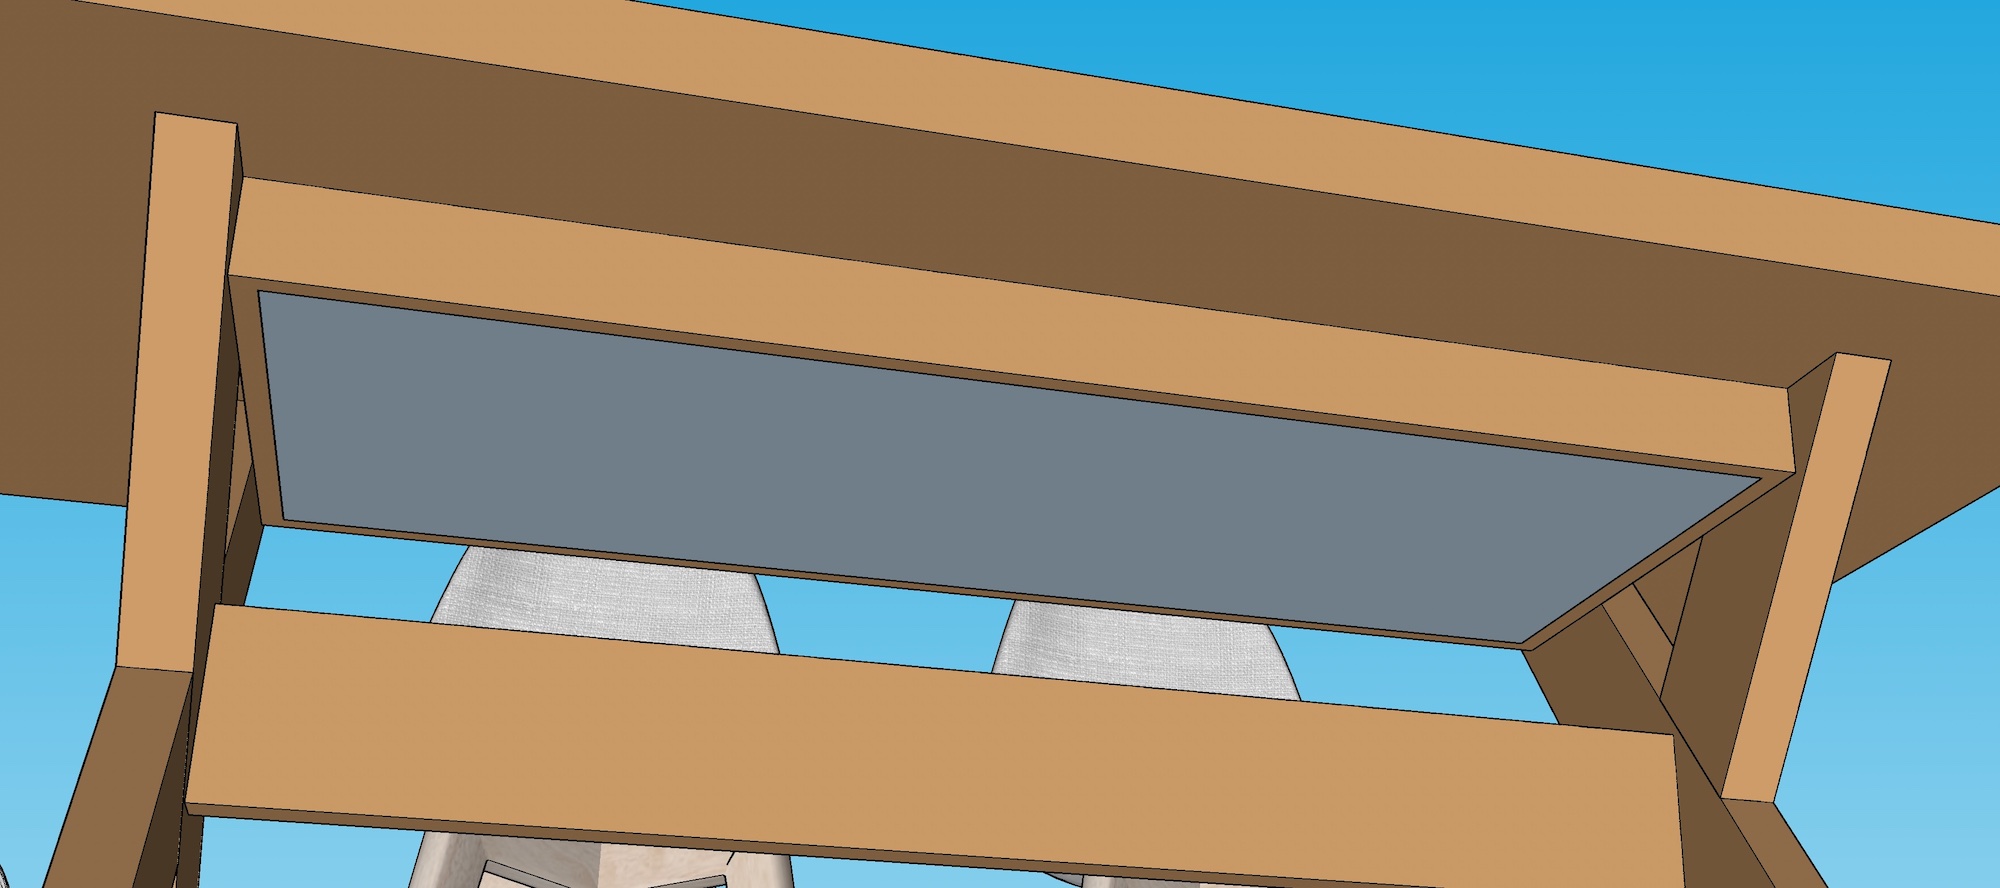
My idea is a long and relatively narrow thick panel, with some kind of simple cross-member base assembly. This is the rough SketchUp model so far:
I’m designing it to be extendable with a leaf in the center, with the support apron rails forming an enclosed box in which we could store the leaf element when it’s not in use. For typical day-to-day we wouldn’t need it extended — only having that as an option for larger events and things. I don’t want to have to store the leaf somewhere where it’ll get buried out in the garage or take up space elsewhere, so it’s best if it stays with the table. The whole thing is designed to be 90” when fully extended. I’ve worked out the measurements so I think this approach will work with a leaf size that’ll be storable within this hidden box underneath. No one would even know it’s there.
The design doesn’t have any of the finishing touches I’m imagining working in somehow. The chamfers, round-overs, joinery. The vision right now is to do this with probably 10-quarter white oak (for the top) and maybe 8-quarter for the legs and base components. It’ll be a fun project if or when I can find the time to do it. I’ve wanted to tackle a more substantial furniture project for a while, and it’d be gratifying to build something that the family can use and enjoy for the years to come.
I discovered this series from my neighbor last week, and already ripped through the full 38-part series.
Lifelong shipwright Louis Sauzedde meticulously walks through the steps of building a flat-bottomed skiff from scratch. He goes from raw slabs of white oak and fir stickered in his backyard, through milling, planing, assembling, and finishing the full boat.
I had this long, wide, high-on-the-wall shelf in my office that was there since we moved in. I had wanted to take it down and do something different, but just left it there while I considered some alternatives. I considered a piece of furniture, moving my desk arrangement, and different variations of shelves that could work. Eventually I decided I wanted some simple, long shelves to give me plenty of space, and to put them up high over the reading chair area.
I wanted to get back to woodworking, and thought this would be a good chance to design something simple and work with some interesting hardwood.
Designing
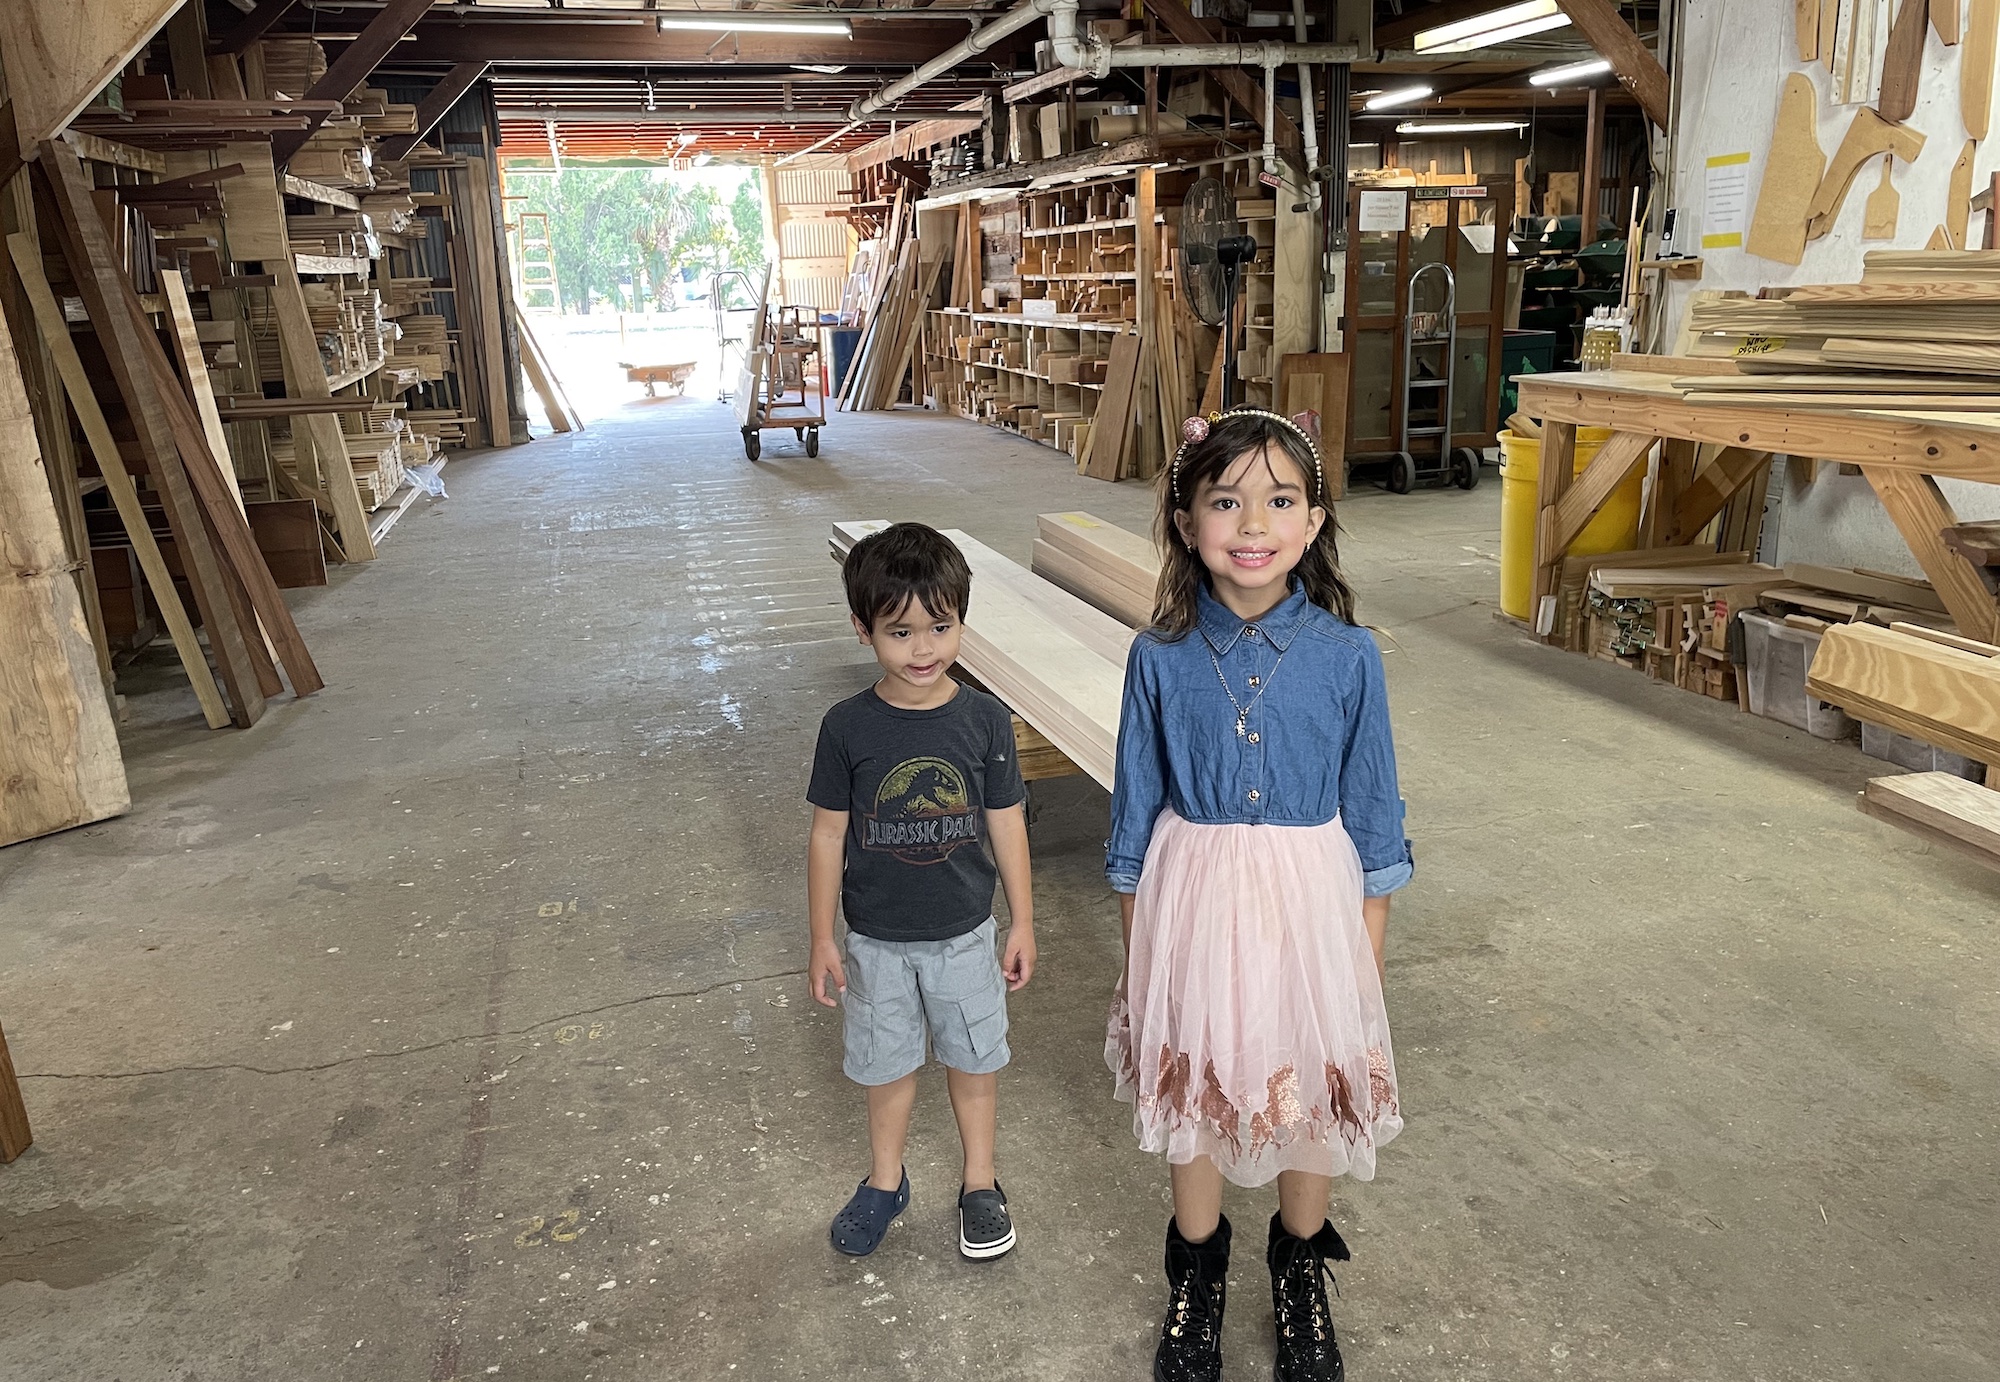
With no idea exactly what stock to use, I headed to Anderson Lumber in St. Pete. My only requirements were rough dimensions: I wanted 2, each about 6’ long and at least 8-9” of width to work from. Most of what’s available at lumber yards like Anderson is rough sawn, so you have to keep in mind having enough stock to work with to give you enough to meet your finished dimensions after milling, planing, and sanding is done.
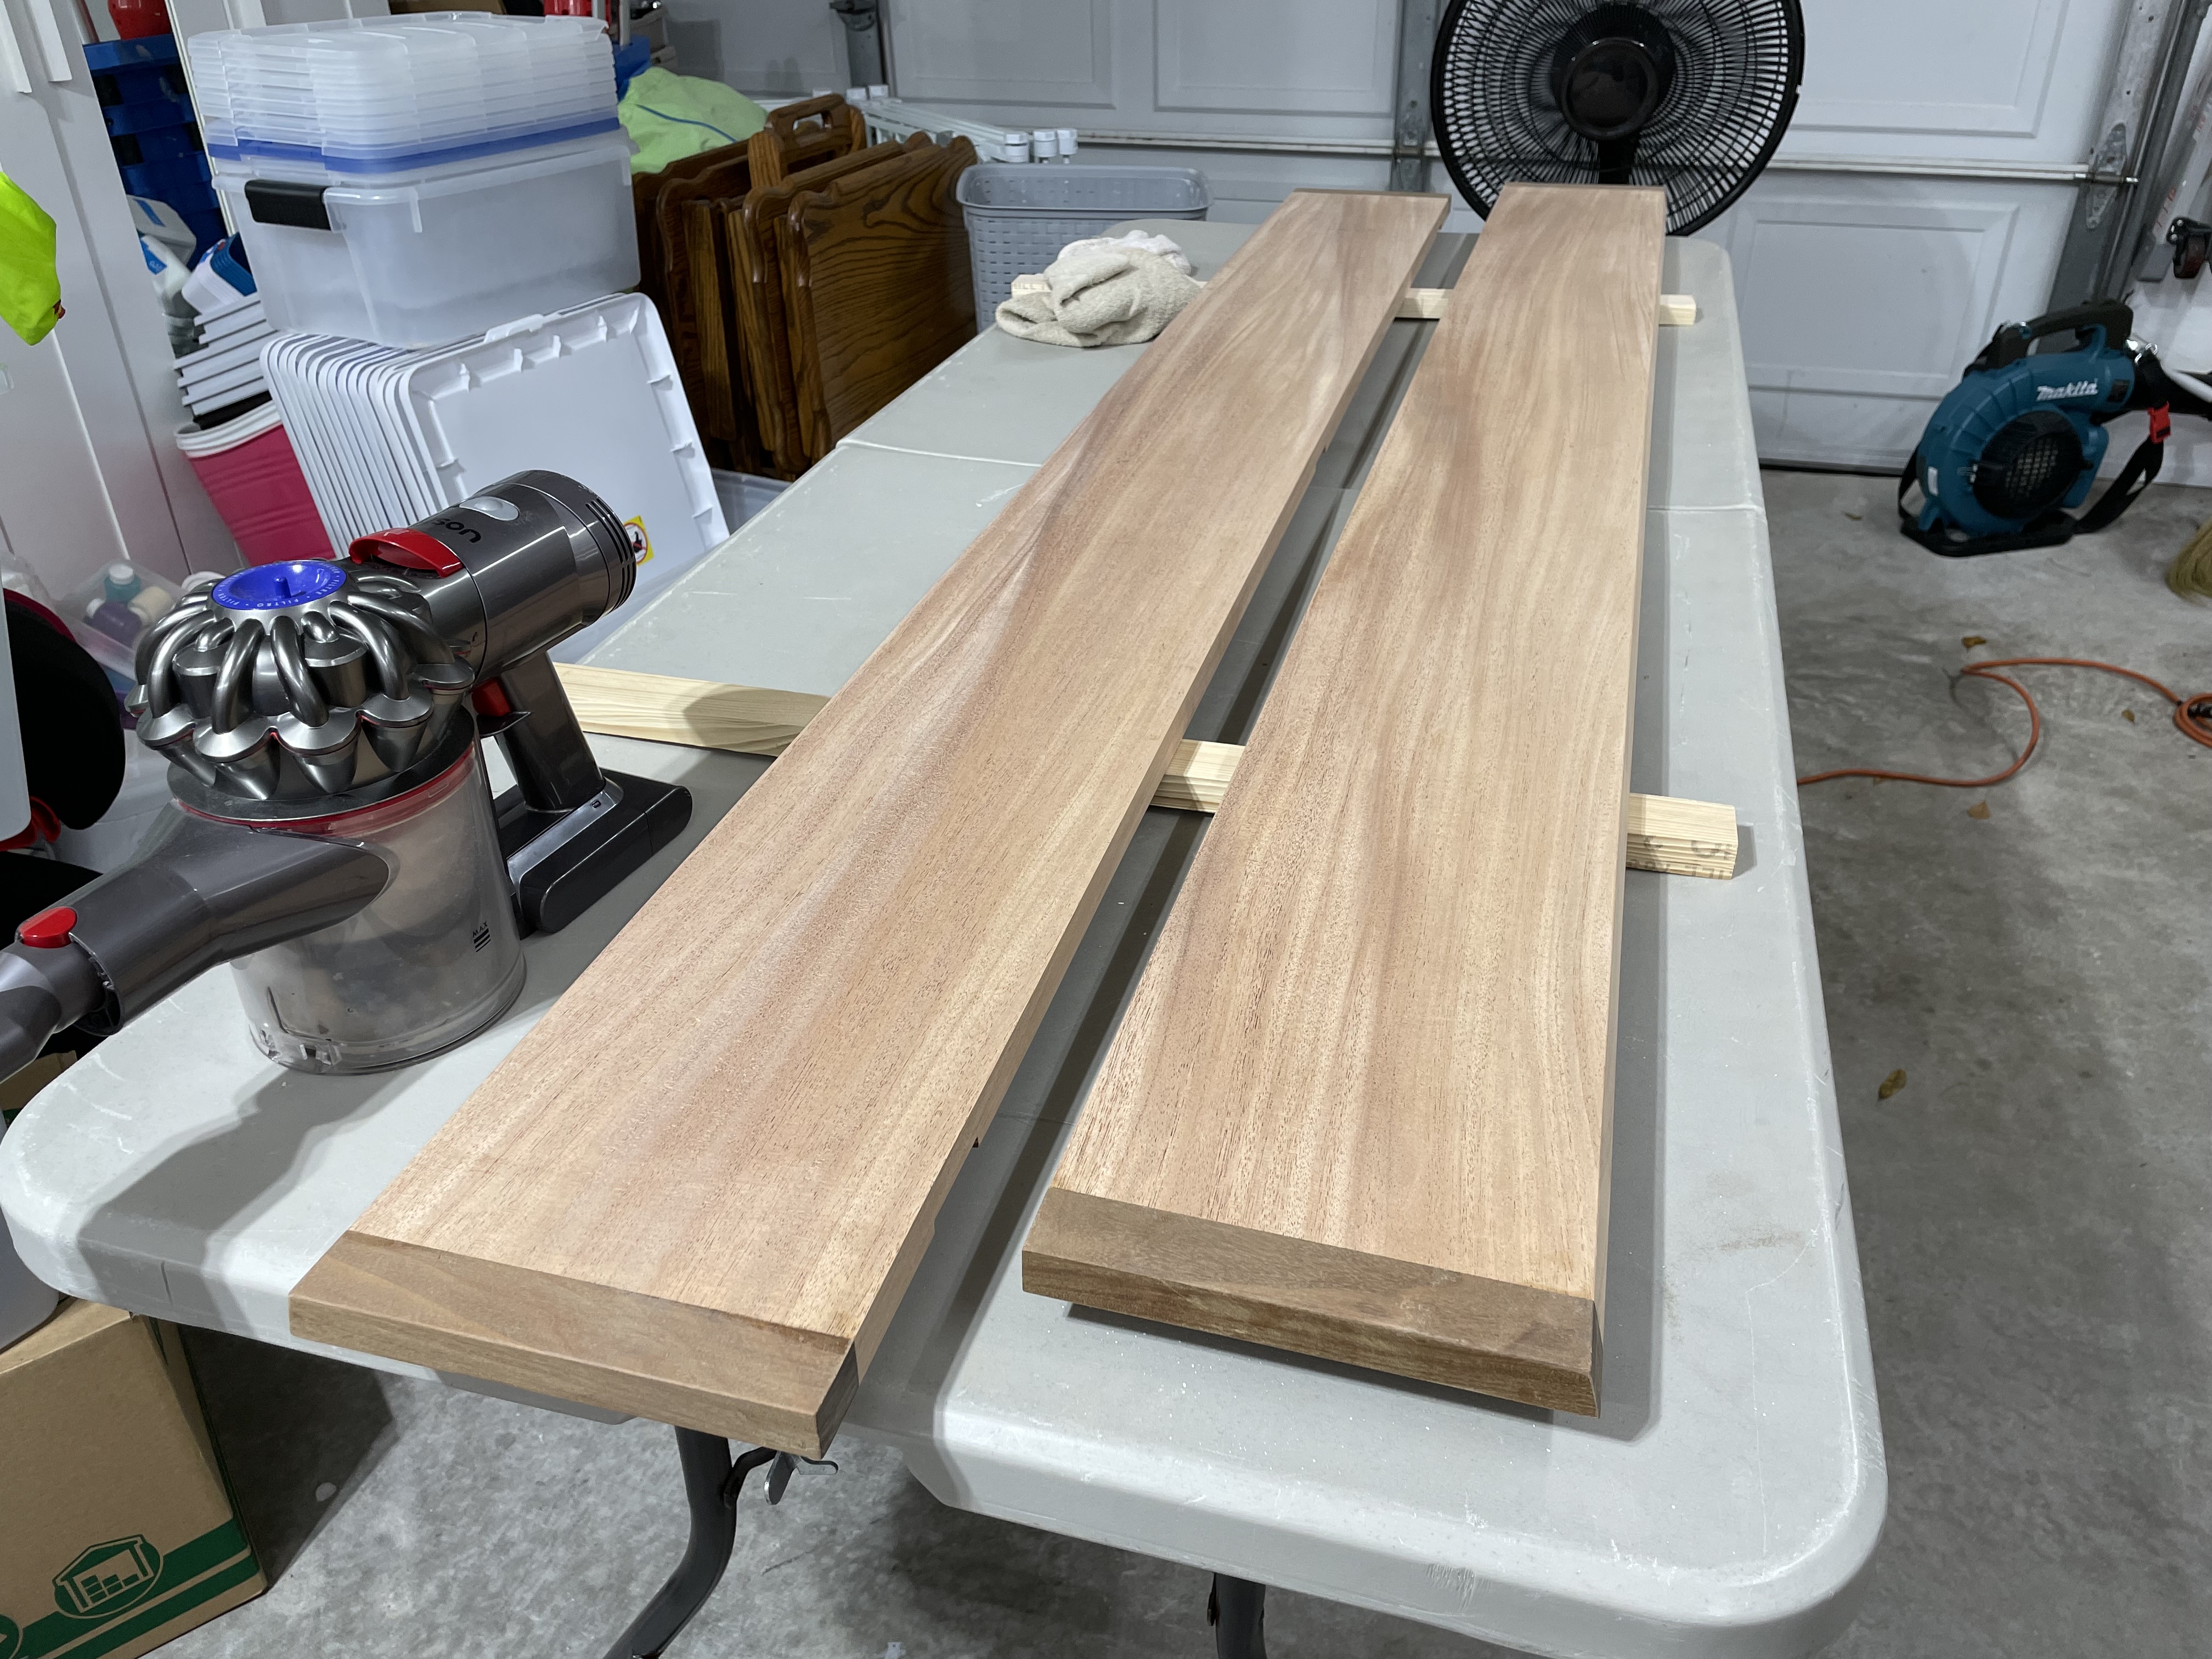
I found a single 14’ piece of sapele that fit my needs perfectly, so I had the guys there chop it in half to fit in my car. That gave me a couple of pieces about 7’ long, which gave me plenty of length to work with. Plus getting both pieces from a single stock was great for getting a grain match and color similarity to my two shelves. Sapele is an African species similar to mahogany, so the grain on it was excellent. My plan was to finish with an oil of some kind.
Lumber shopping
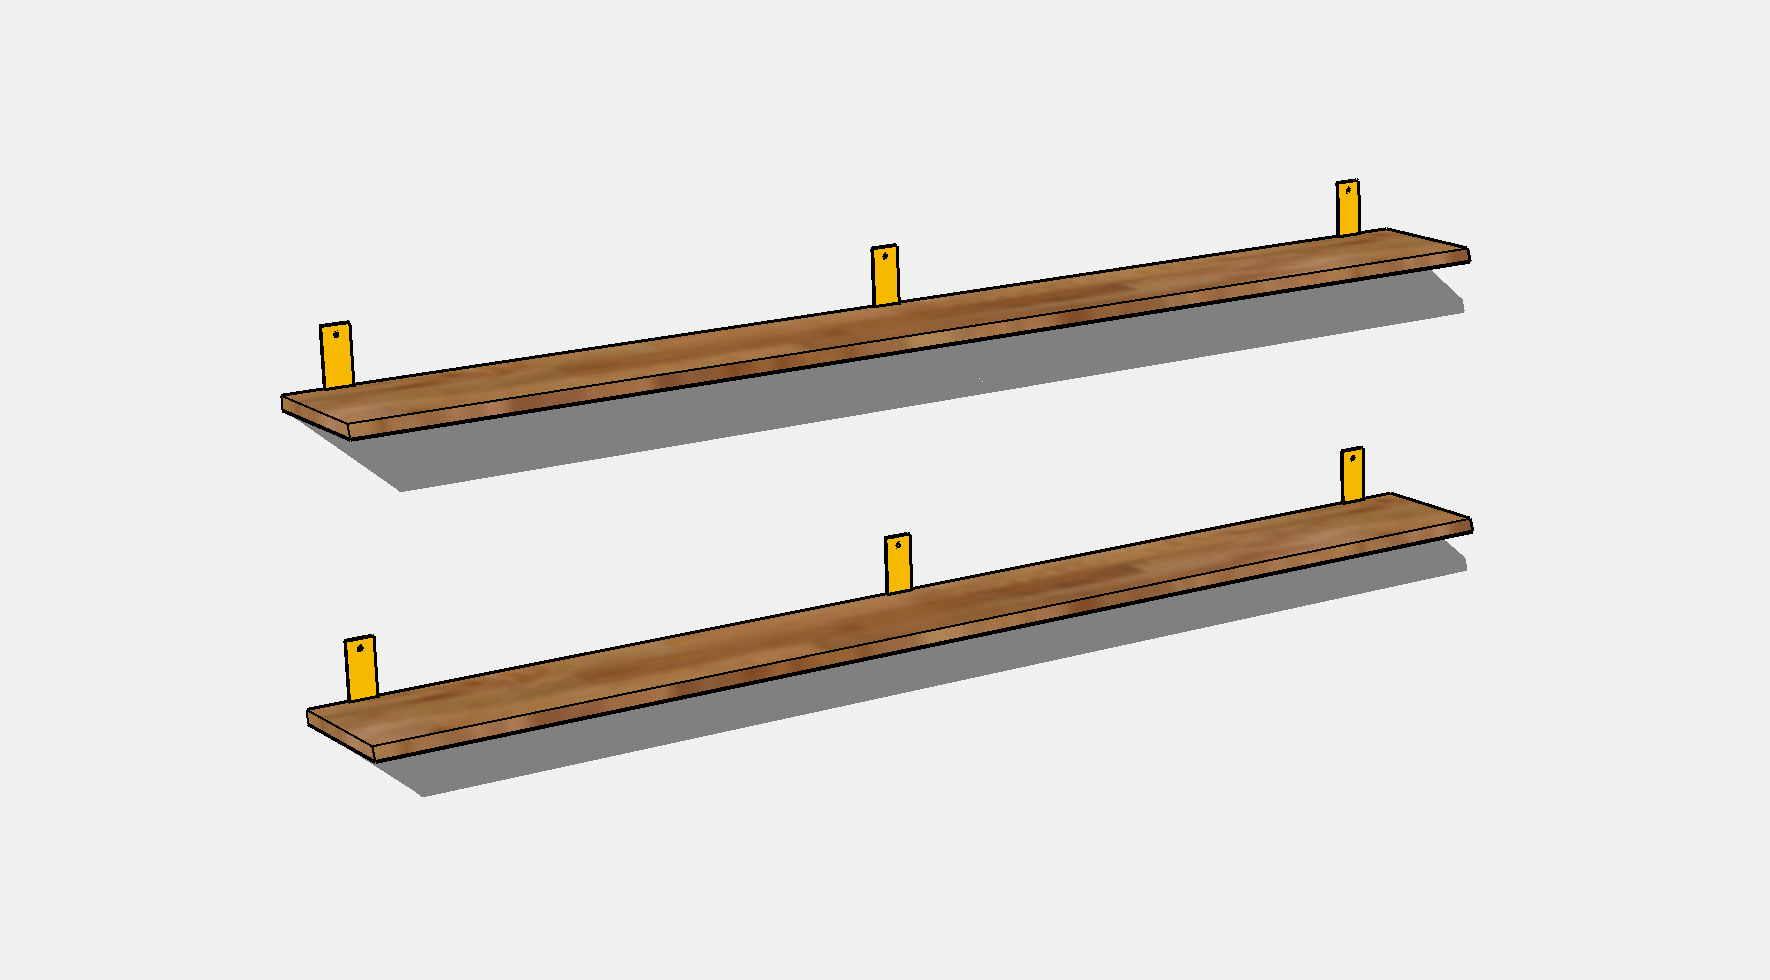
For mounting, I wanted to do something simple that would let the wood be the main feature, so I went with some brass brackets I found on Amazon. Really they’re “brass-colored steel”, which isn’t exactly what I wanted, but they look alright; they’re not that visible. If I was going for a design that had more prominent metal components, I’d have looked around more for brass options. I was even considering doing my own brass plating and soldering, but decided this was more about the wood. Though I would like to venture into some metalwork on a future project. All I had to do to get them the way I wanted was cut the upturned outer ends off so I could hide the brackets into routed channels. That way I’d end up with a floating shelf look, with only part of the wall strip visible.
Milling and cutting
The first step in the build process was to get the lumber cut to rough dimension and milled up. With no working jointer I just hand-planed one of the edges to get it as flat as possible and ripped it on the table saw get close to finished width. Then it was onto the planer to smooth out the rough texture and mill to final thickness.
In the office I first mounted the brackets so I had known, firm stud locations with good alignment on the wall location. Then I sat the boards up there to trace out the location for the bracket channels I needed to add with the router. Also, my wall isn’t what you’d call “flat”, so the brackets aren’t perfectly perpendicular. So I wanted to make sure I left enough channel width to have some play in there for positioning. If these shelves ever move to another wall with standard 16” stud separation, they should be easily remountable.
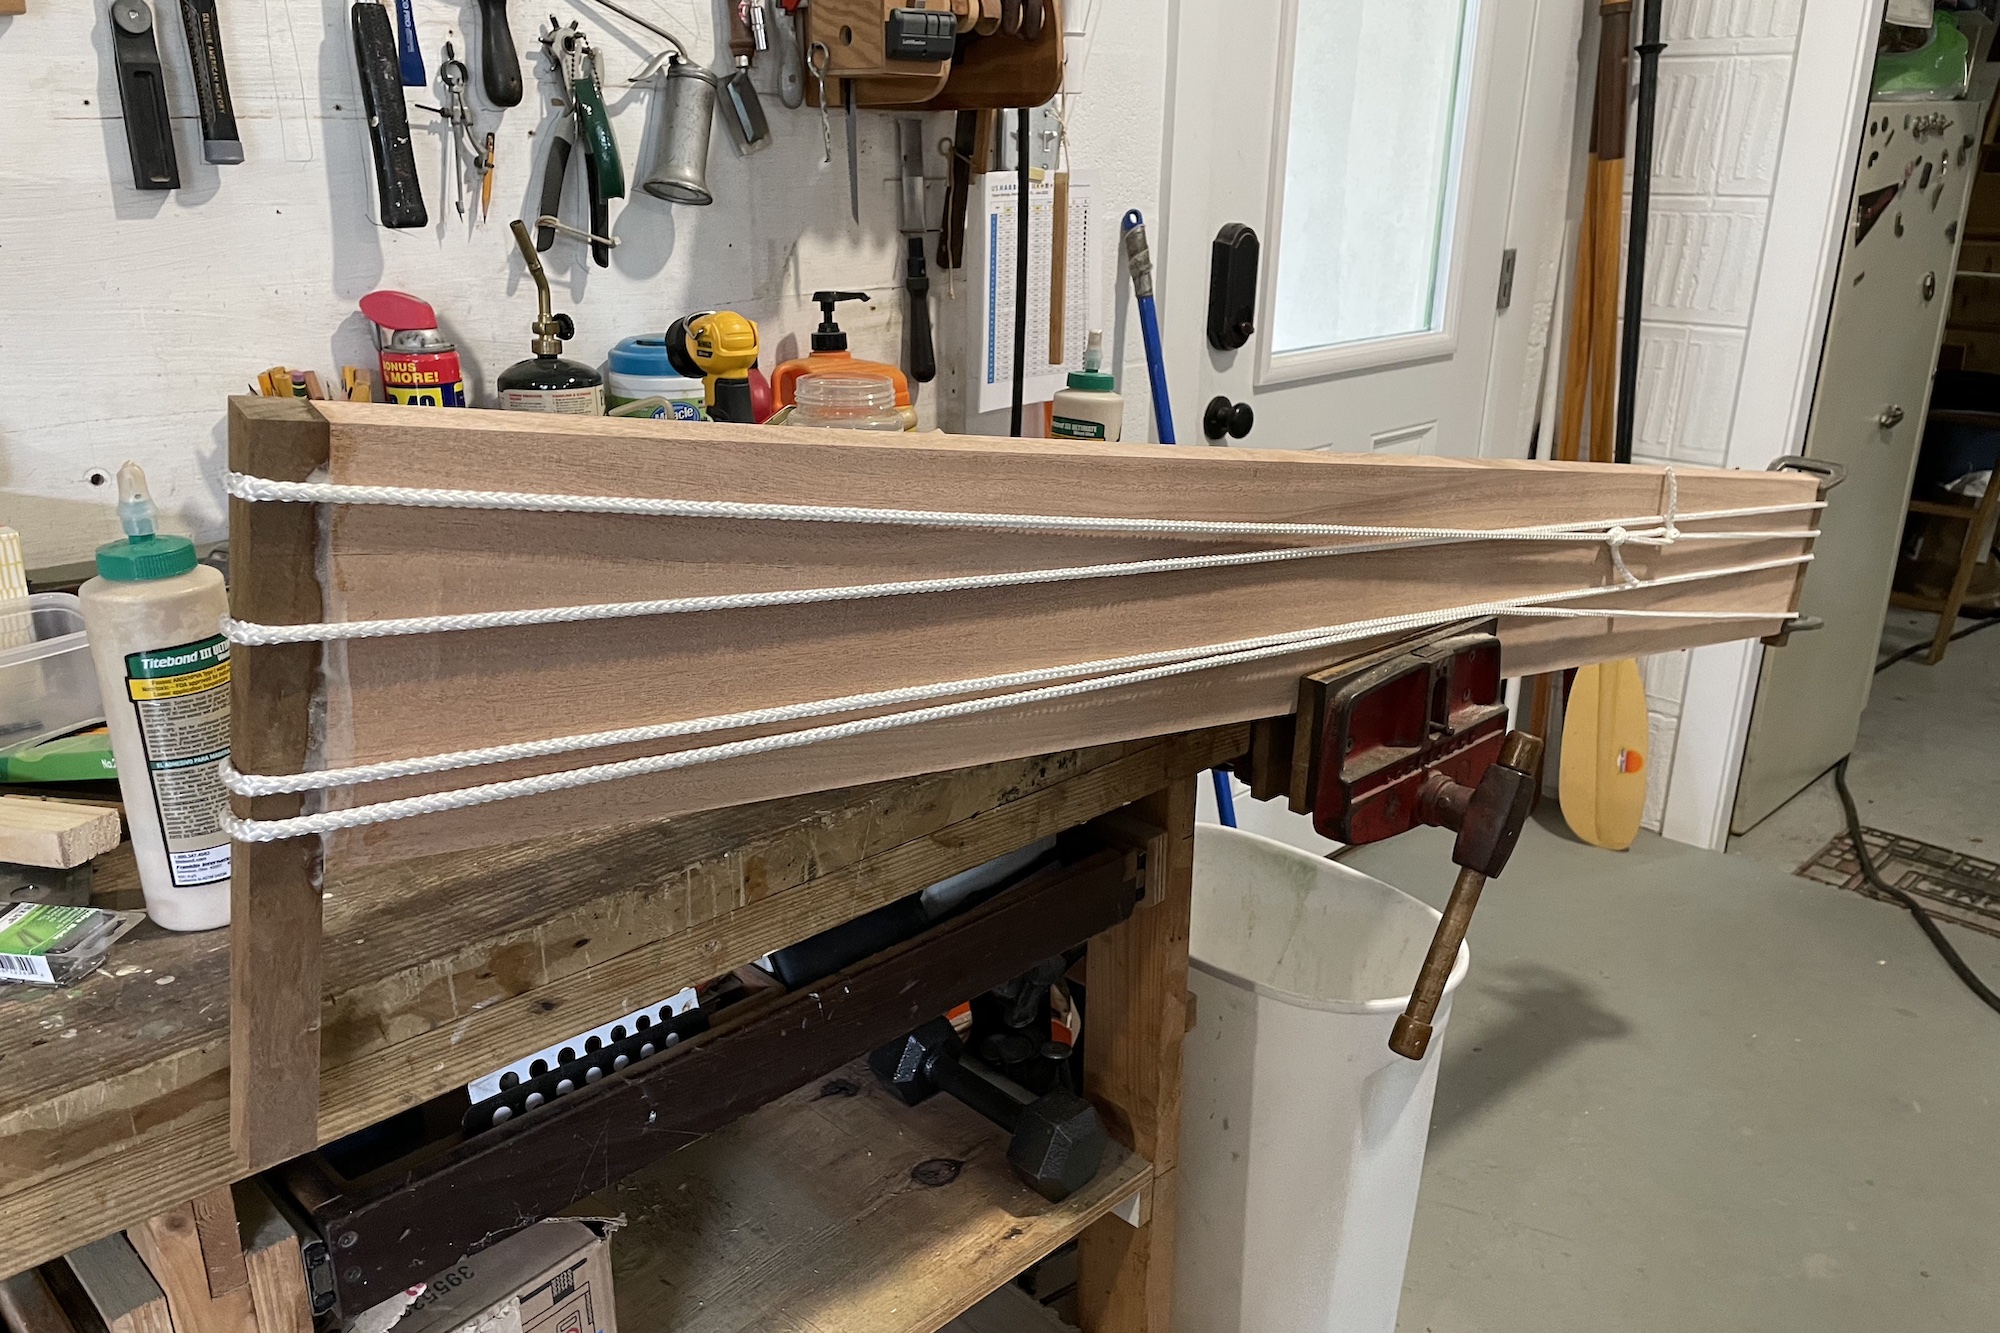
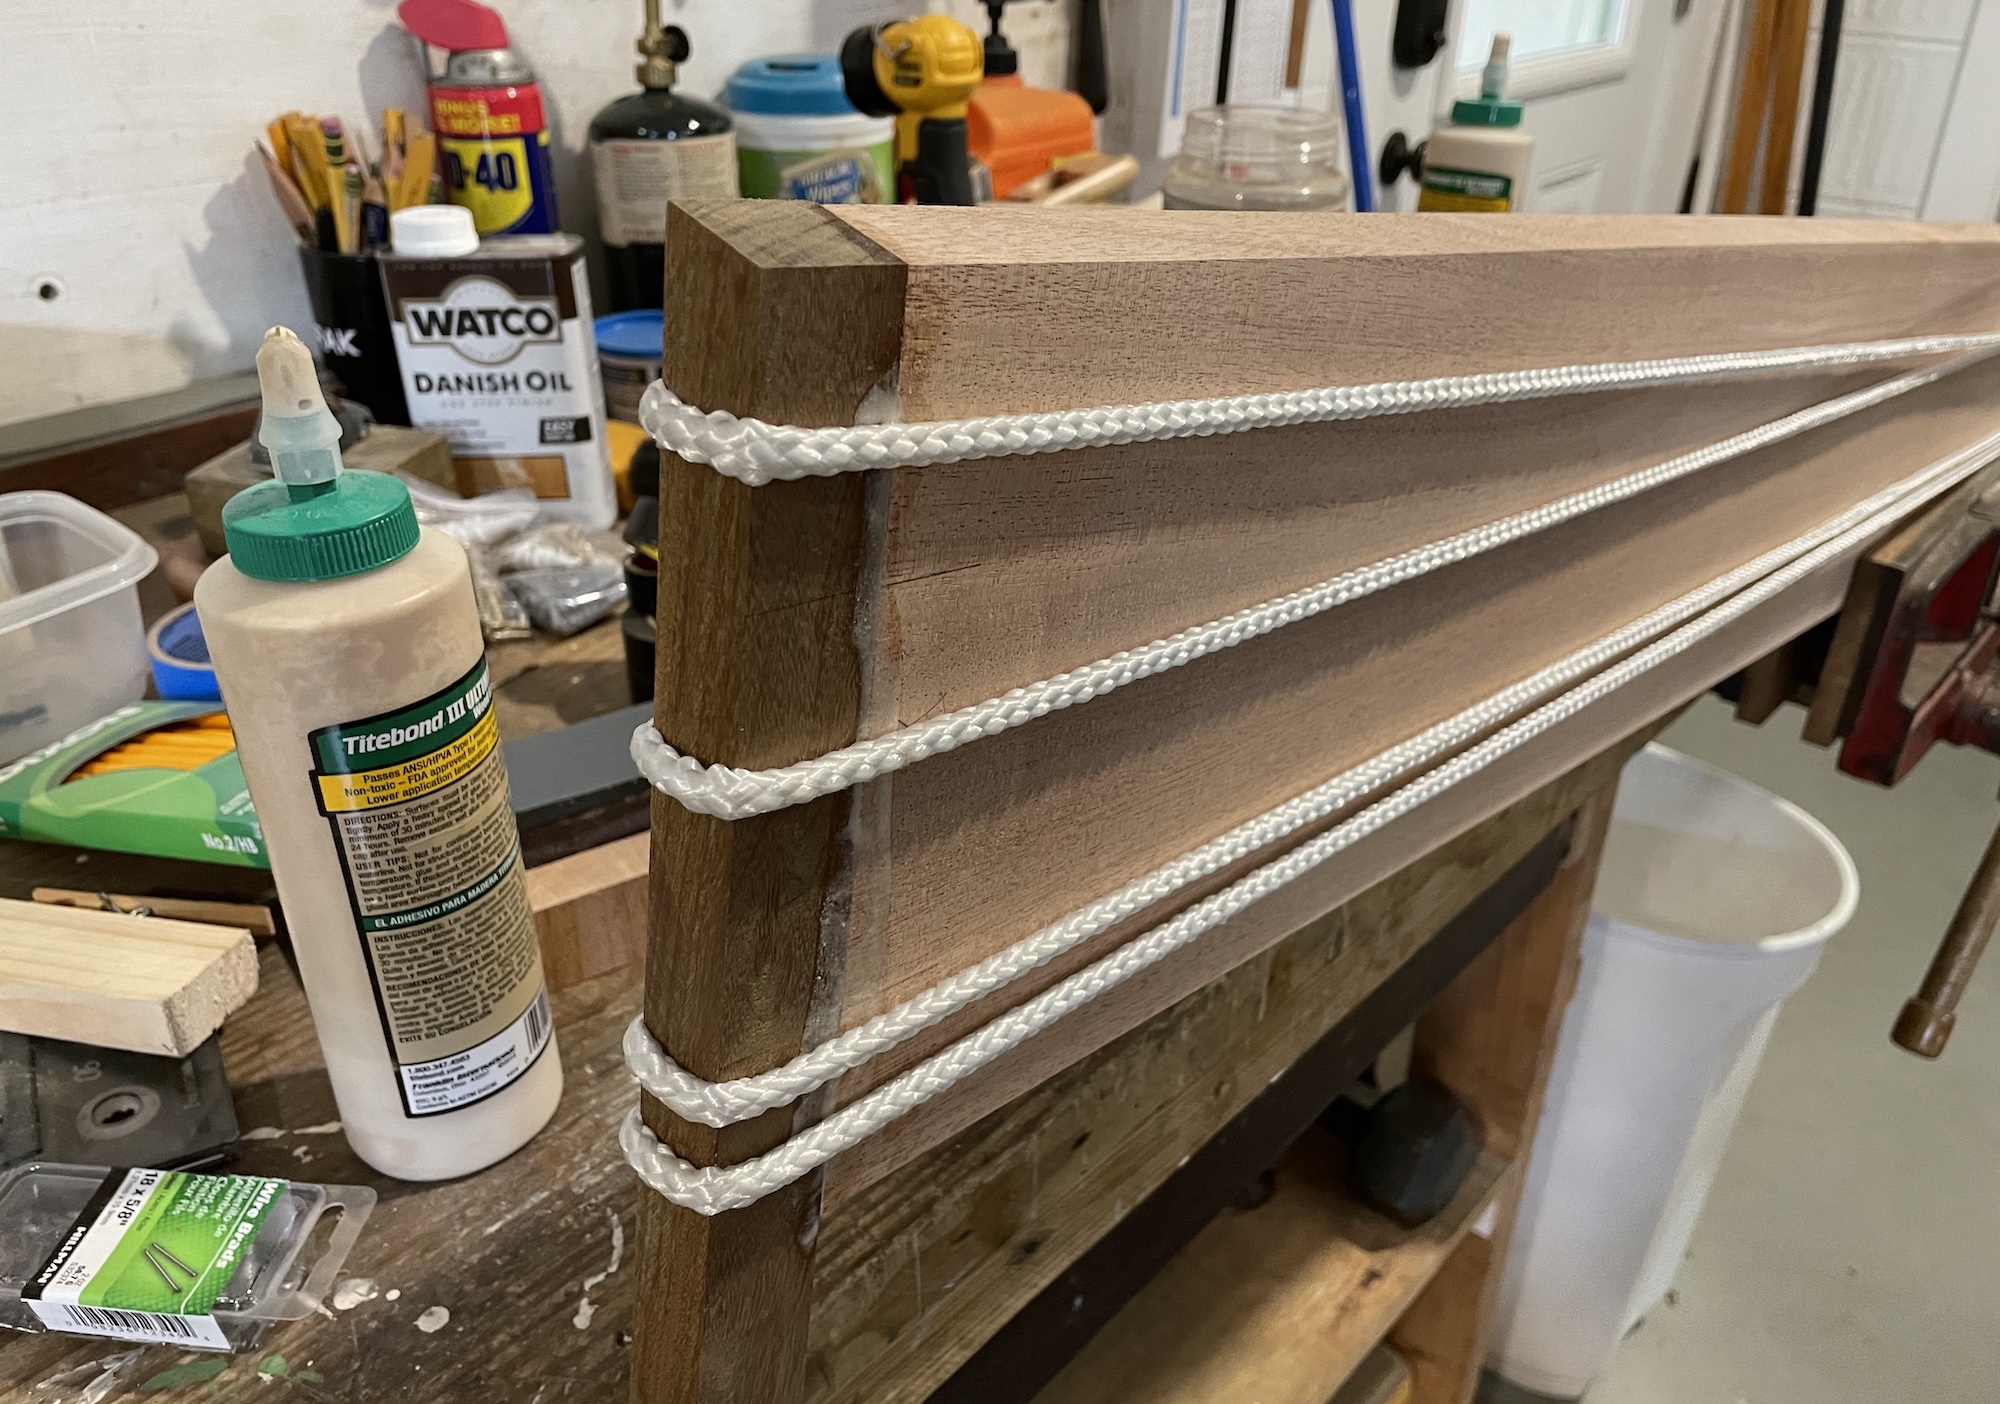
I had this chunk of ipe laying around that I’d grabbed from a scraps bin years ago. Originally I was going to make an iPad stand from it, but never did. So I decided to try out making some breadboard ends to make the shelves a little more interesting, rather than just slabs of lumber. To keep it simple, and because these ends aren’t wide or load-bearing, instead of tenoning them fully onto the ends of the shelves, I just used a biscuit jointer and a couple of biscuits on each end. Without any long enough pipe clamps or straps, the glue-up for the breadboards got interesting:
The ends were left a touch long on each end so we could do a hair-thin ripping pass on the table saw to even everything up.
The ipe provides nice contrast and is such an interesting material when you get it sanded down to a high grit. There’s a green iridescence that comes out when you get it nice and smooth that I love.
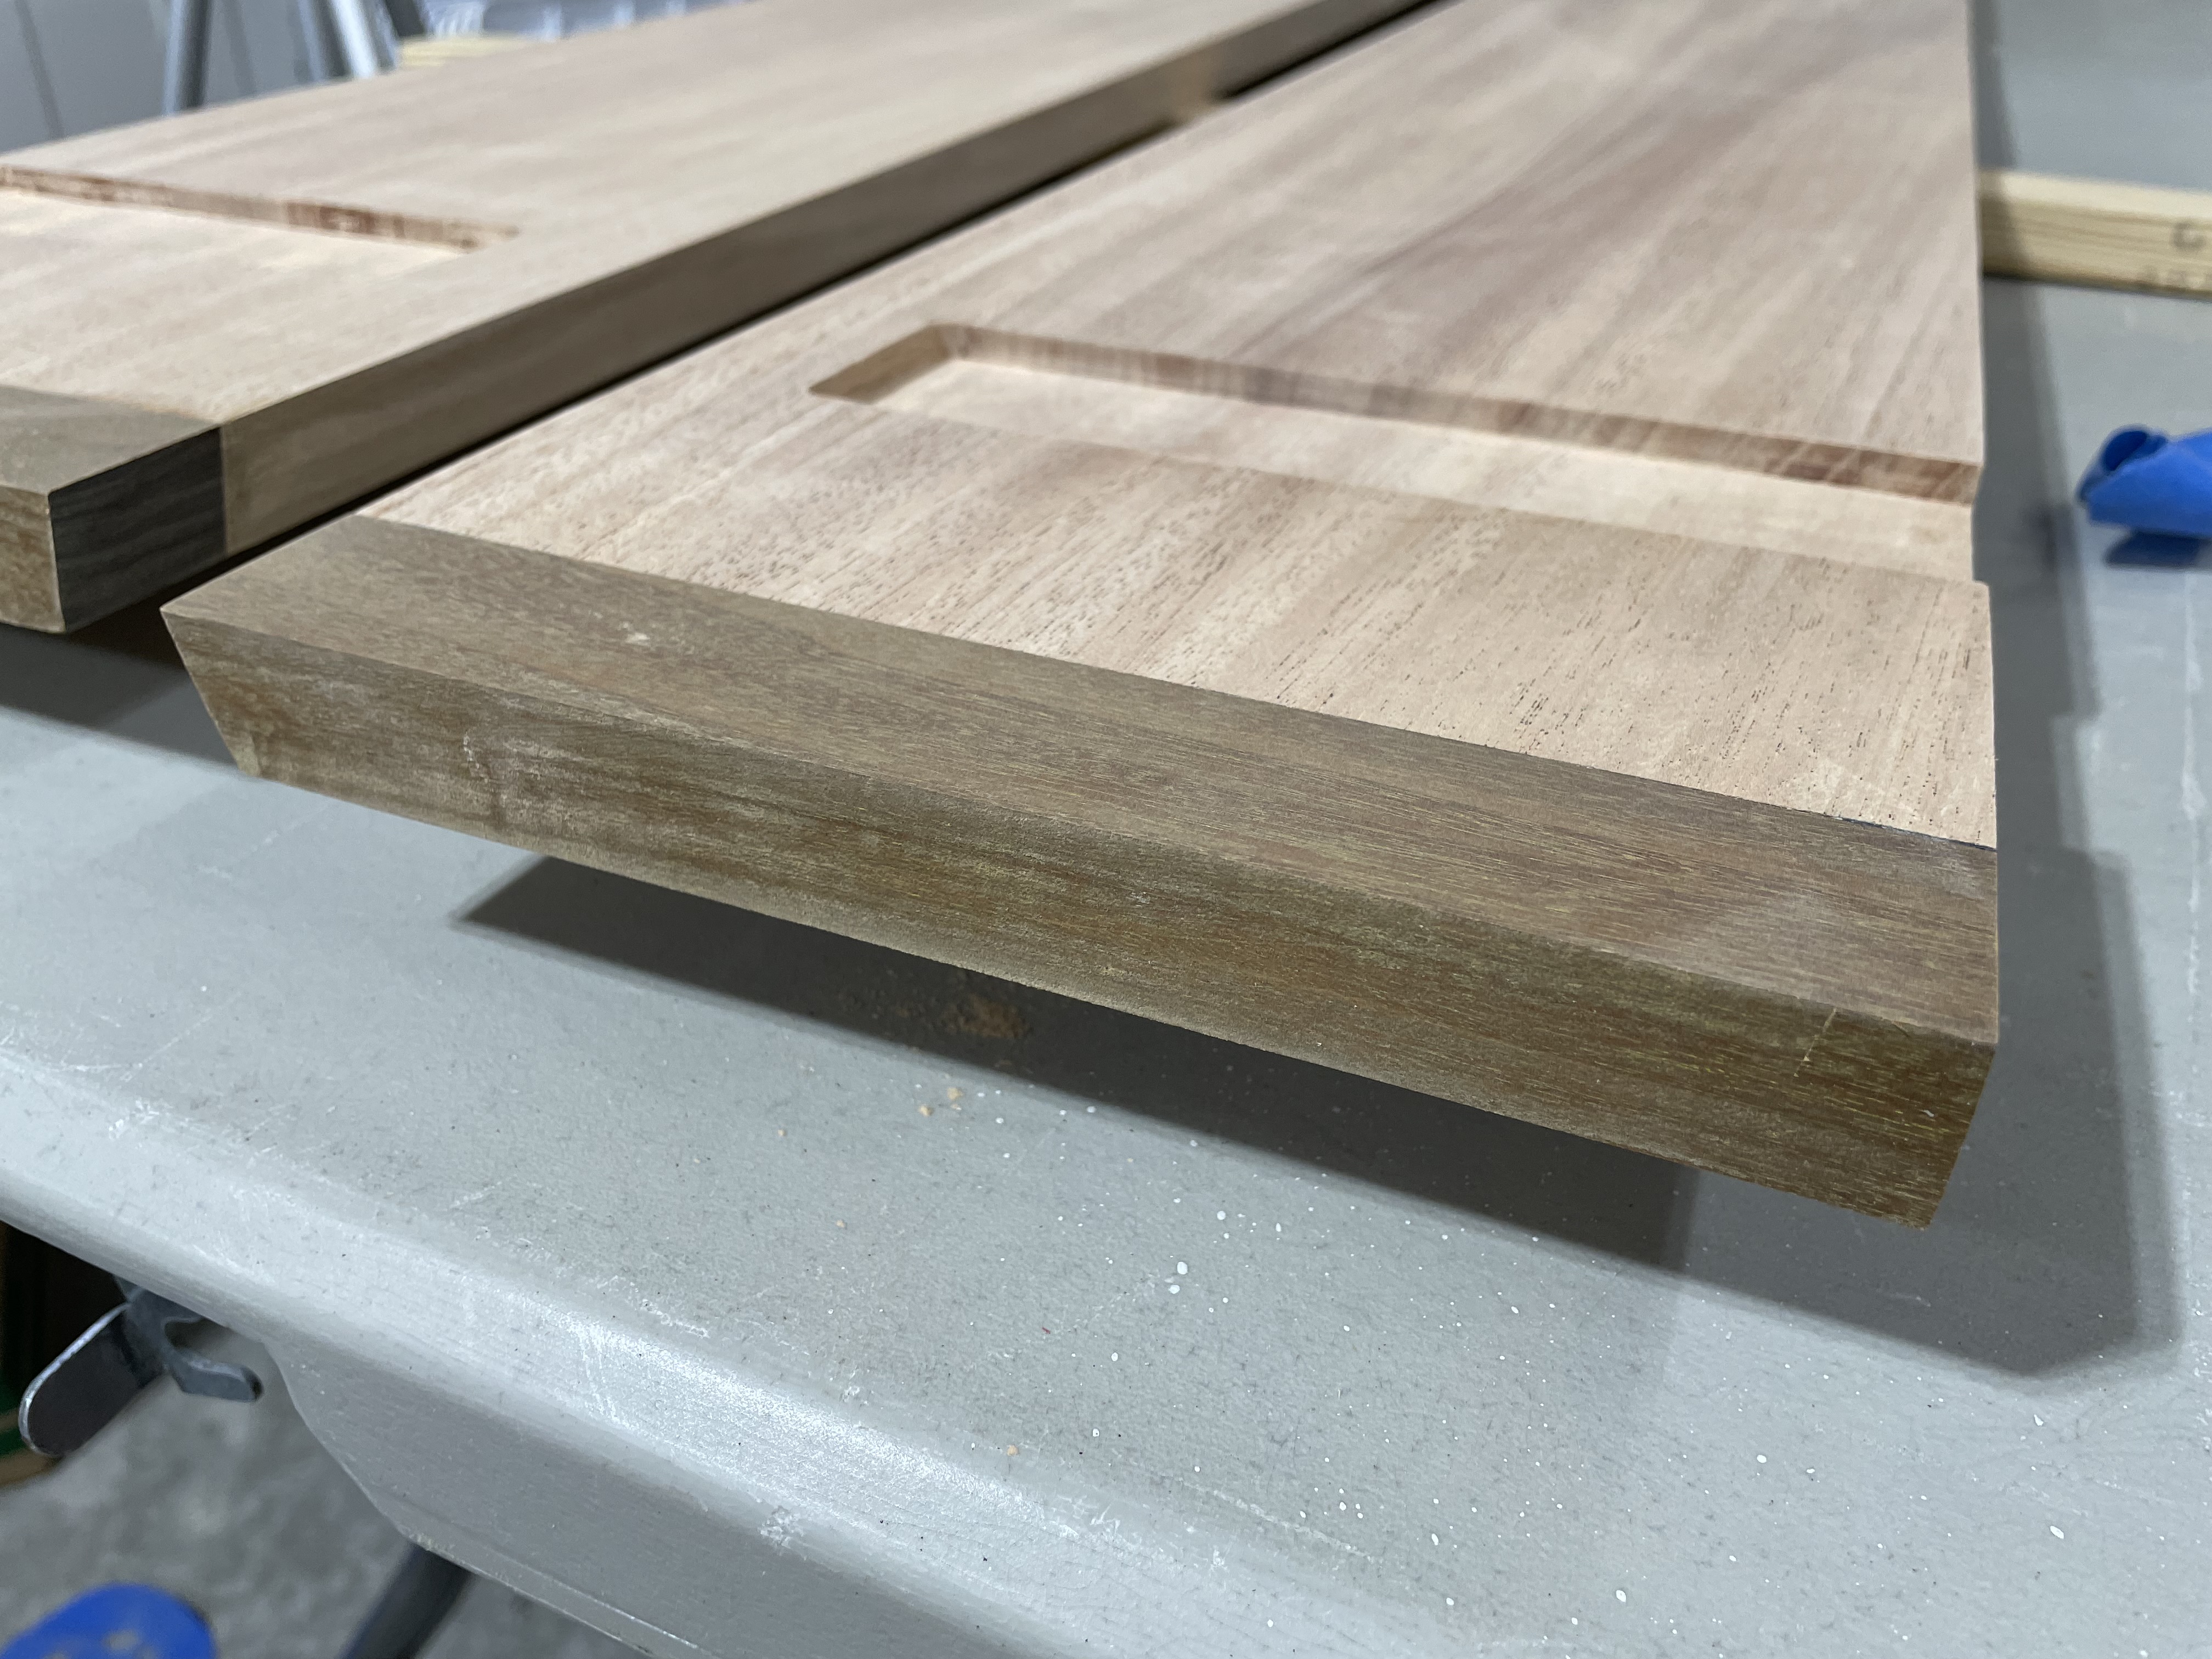
After everything was dry, the ends trimmed up, and my channels marked, I set to work on routing those channels to flush inset the brackets underneath. In the shop we built a plywood jig fit special to the palm router with a small straight bit. Proper jig-making is essential to idiot-proofing steps like this in your process. Routers can do hard-to-fix damage to your work if you aren’t careful, so it was worth the half hour we spent measuring everything and making the jig. Once all set, just clamp it on at the edge of the workbench, and follow the edges to eat away the material to make the channels. A few passes and the results were smooth and consistent.
With a final sanding of everything down to the finish grits, it was time for finish.
Finishing
My finish of choice was a Danish oil, which is really a combination of tung/linseed oil, varnish, and mineral spirits. With its thin consistency, you wipe it on in a thick coat and let it soak in for about a half hour, then wipe off the excess. I decided to do 3 coats, with light sanding at 400 grit or buffing with a rag in between each one.
The final product came out beautiful. After curing a day or so, I mounted them up on the wall.
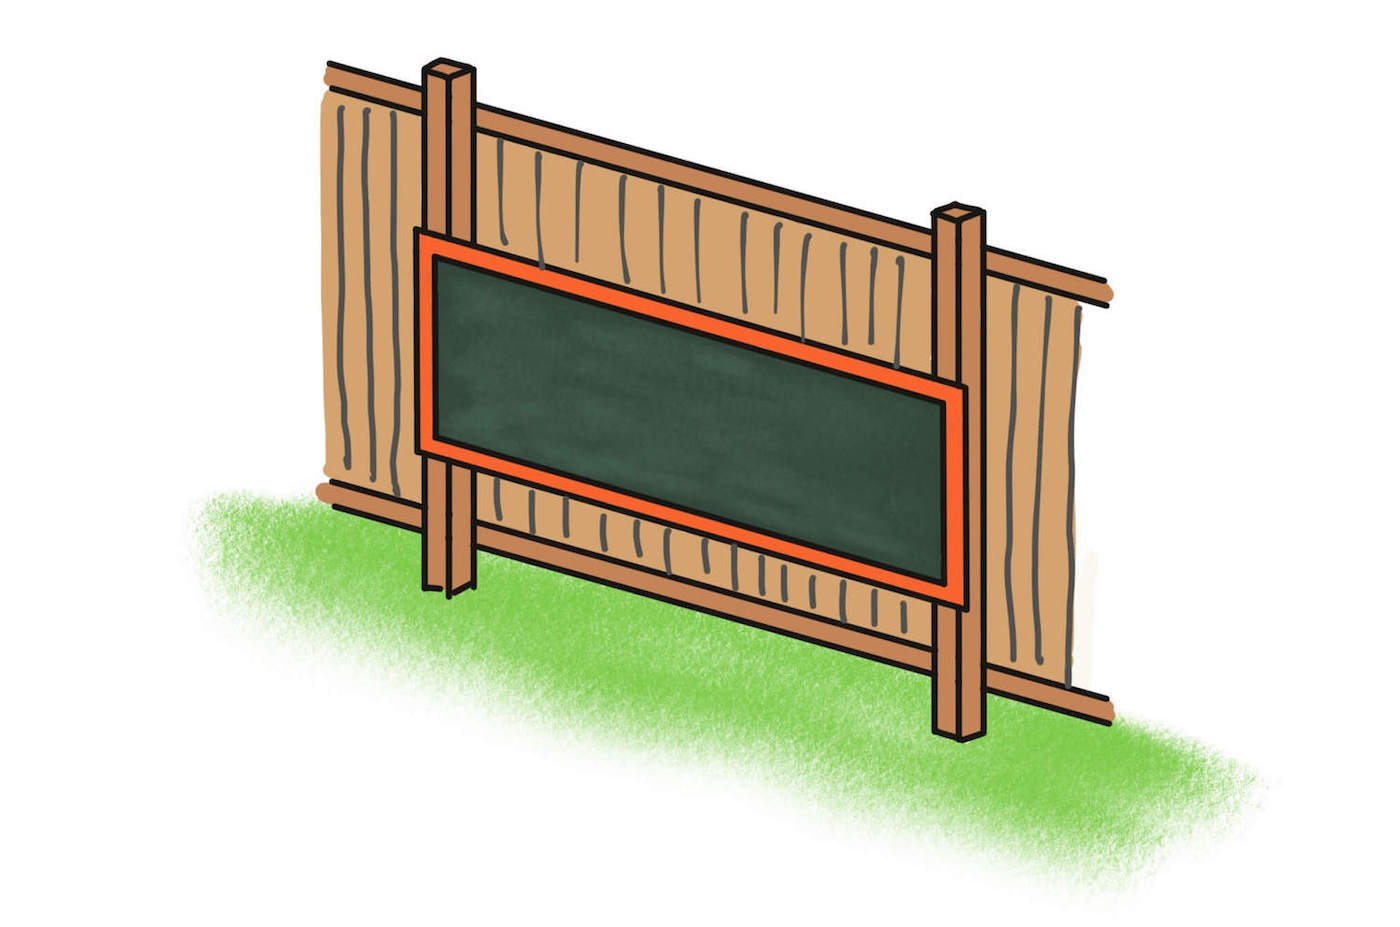
Colette had this idea to build an outdoor chalkboard for the kids to use, hung on the fence. I went yesterday and bought some materials to put one together. I also found out in drawing up the plan that chalkboard paint exists, which is amazing. I’m not sure how exactly it works, but I bought some and we’ll find out.
It only requires some basic ingredients:
Cement backerboard (like you use for moisture-resistant surfaces)
1x4 boards for frame
Adhesive
Lag screws for hanging
We’ll see how it works out. Should be pretty easy, and I know the kid will enjoy it!
I just merged in a new project I worked on over the holiday to add a library section to this site. You’ll see it under “Books” from the top navigation menu.
Based around the library database I’ve been adding to over the last few months, I built a way to convert the record data for each book into content pages for the website. It uses Jekyll’s Collections functionality for building custom content types to use. Once you have the basic templating set up, creating new content records is as easy as making a new file in your collection (for my site it’s _books/) with whatever consistent metadata you want to use available in the front matter.
All of the metadata tracked from the database is in each collection entry to use for reference, as visible in that example. This’ll be cool so I can make it more interactive, to allow browsing by genre, publish year, format, etc.
I’m pretty happy with the setup so far. It should be simple to maintain and add new books to the library. To make life easier I added a new method to my command line utility to generate custom “base” templates to start with for new records. I’ve already got those set up for regular posts and new links, so it only involved adding a new file output structure for book entries. All of my completed reads are in there dating back to mid-2017. I’ll keep gradually adding them as I can. The way I’ve got this set up, each collection entry can also function as a “review” of sorts. A future plan includes adding a way to insert those as dated entries into the feed and main homepage. A “topics” section has also been gradually coming together. More on that soon.
In a future technical post I’ll write up how it’s all configured using collections and make reference to the relevant source on GitHub. Collections are one of the most powerful features of Jekyll and I’m sure generally underutilized.
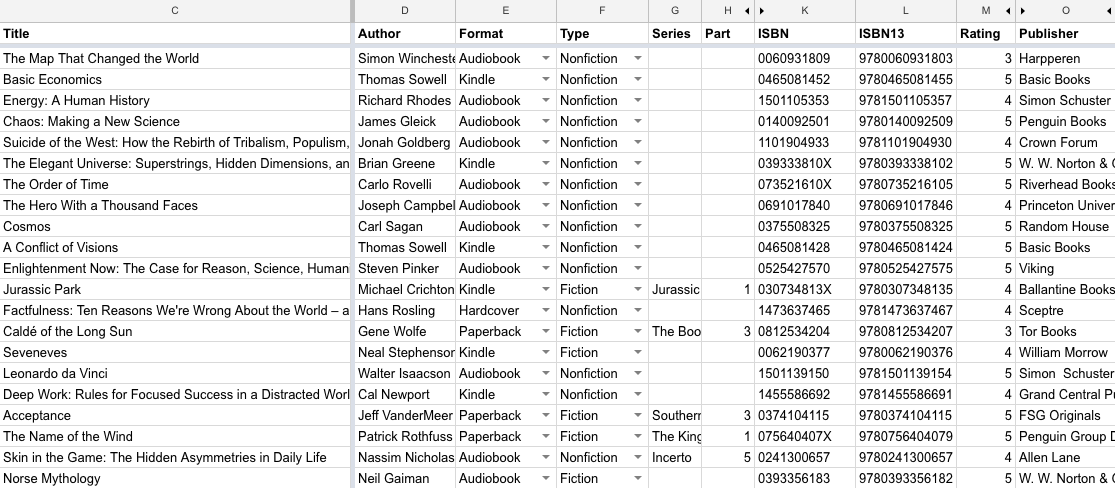
I’ve been an avid user of Goodreads for tracking books for the last ten years. Tom MacWright wrote a post and a script utility last year to export and format items from Goodreads into pages that could work in a Jekyll site, like his and this one. On my profile I track more than just what I’m reading; I also log start and finish dates, ratings, reviews, and more. Getting a feed somewhere on the website would certainly be cool (I have a branch now with this in progress). On my way to getting that working, I took the Goodreads export format and put it in a Google Sheet, then edited a good bit to build out a richer dataset that I can keep adding to over time. I added fields for format, whether a book is part of a series, and a URL to get to book’s listing.
I have some ideas on some simple analyses to do on this data. Once I get the feed publishing my reading log inline with the blog posts, I’ll work on some experiments with visualizations that could be done with this dataset.
Inspired by a couple of others, I released a micro project of mine called Terra, to provide a fast way to run several geospatial tools on your computer.
Because I work with a variety of GIS datasets, I end up writing lots of scripts and small automation utilities to manipulate, convert, and merge data, in tons of different formats. Working with geo data at scale like this challenges the non-software developer to get comfortable with basic scripting and programming. I’ve learned a ton in the last couple years about Unix environments, and the community of open source geo tools for working with data in ways that can be pipelined or automated. Fundamental knowledge about bash, Python, or Ruby quickly becomes critical to saving yourself countless hours of repetitive, slow data processing.
The renaissance tool of choice for all sorts of data munging is GDAL, and the resident command line suites of GDAL and OGR. The GDAL and OGR programs (for raster and vector data, respectively) are super powerful out of the box, once you understand the somewhat obtuse and involved syntax for sending data between datasources, and the myriad translation parameters. But these get extra powerful as multitools for all types of data is when you can read from, and sometimes write to, proprietary data formats like Esri geodatabases, ECW files, MrSID raster images, GeoPDFs, SpatiaLite, and others. Many of these formats, though, require you to build the toolchain from source on your own, including the associated client libraries, and this process can be a giant pain, particularly for anyone who doesn’t want to learn the nuances of make and binary building1. The primary driver for building Terra was to have a simple, clean, consistent environment with a working base set of geotools. It gives you a prebuilt configuration that you can have up and running in minutes.
Terra uses Vagrant, for provisioning virtual machines, and Chef, an automation tool for batching up the setup, and maintaining its configuration. Vagrant is really a wrapper around VirtualBox VMs, and uses base Linux images to give you a clean starting point for each deployment. It’s amazing for running dev environments. It’s supports both Chef and Puppet, two CM tools for automating installation of software. I used Chef since I like writing Ruby, and created recipes to bootstrap the installs.
This all started because I got sick of setting up custom GDAL builds on desktop systems. Next on the list for this mini project is to provision installs of some other open geo apps, like TileMill and CartoDB, to run locally. Try it out on your computer, all you need is VirtualBox and Vagrant installed, and install is a few simple commands. Check it out on GitHub, follow the README to get yourself set up, and post an issue if you’d like to see other functionality included.